 Semata
Guidance
It is important that you understand the Accounts Structure that Parish Council Accounts provides, and how you can represent your councils requirements within it. On installation a demonstration council is provided. Use this to familiarise yourself with the features of the application.
The next step could be to experiment by creating your own Council. The Cashbooks and Accounts Structure can be altered until such time as you start to make entries to the Cashbook. You can change certain details even after you start making entries, but these are limited to changing names, etc, rather than the structure and amounts. If you wish to discard this experiment, you can rename it (from the menu by Councils->Edit), hide it (Councils cannot be deleted) and start again.
Once you are happy with the setup, before you start making entries, it worth taking a backup, so that you can restore to this position. Should you wish to change the setup after having made entries to the Cashbook, you can export the entries to a CSV file, restore the backup, make the changes to the setup, and reload the entries.
Councils
When you first run Parish Council Accounts it creates a set of demonstration accounts, named DEMO. This allows you to familiarise yourself with the product.
To setup the accounts for your council you need to follow the steps below.
-
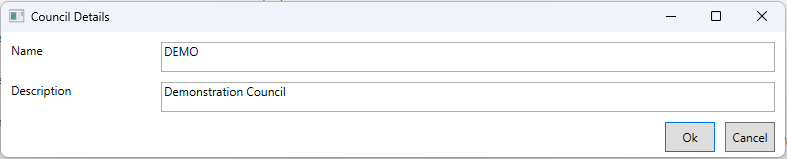
Name
This identifies the Council and must be unique. It must consist of one or more strings of uppercase characters separated by a single '.', '/', '-' or ' '. E.g. 'DEMO', 'DEMO COUNCIL', or 'DEMO-COUNCIL'
-
Description
This is what will appear on reports etc.
These details can be changed later from the menu by Councils -> Edit.
Accounting Periods
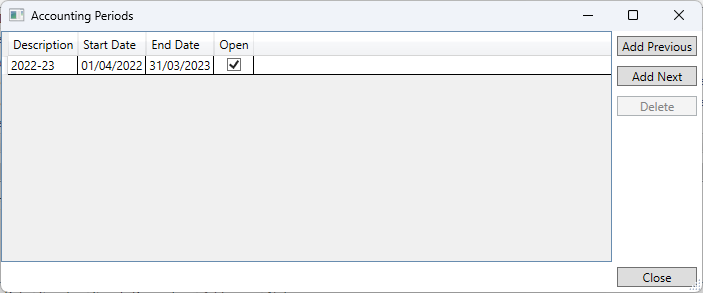
When a Council is created, an Accounting Period is added for the current financial year. You can add previous years if you wish to load historical data. Typically, you will add the next Accounting Period, by clicking the Add Next button, when you start to enter next year's budget.
Entries can only be made for years in which the Accounting Period is Open. So once the end of year is complete the Accounting Period can be closed, by unchecking the Open box, preventing further entries being added for that year.
It is only possible to Delete an Accounting Period when no data has been entered for that year.
Cashbooks - see here.
Unclaimed VAT
This example describes how to setup unclaimed VAT.